There’s nothing quite like starting your day with a hot, flavorful cup of coffee from your trusty Keurig. But did you know that regular maintenance, especially descaling, plays a crucial role in keeping your coffee tasting great and your machine running smoothly?
In this guide, we’ll explore why descaling is essential, how mineral buildup affects your brewer, and introduce you to the simple descaling process that will enhance your coffee experience.
What Does “Descaling” a Keurig Mean?
Understanding Descaling
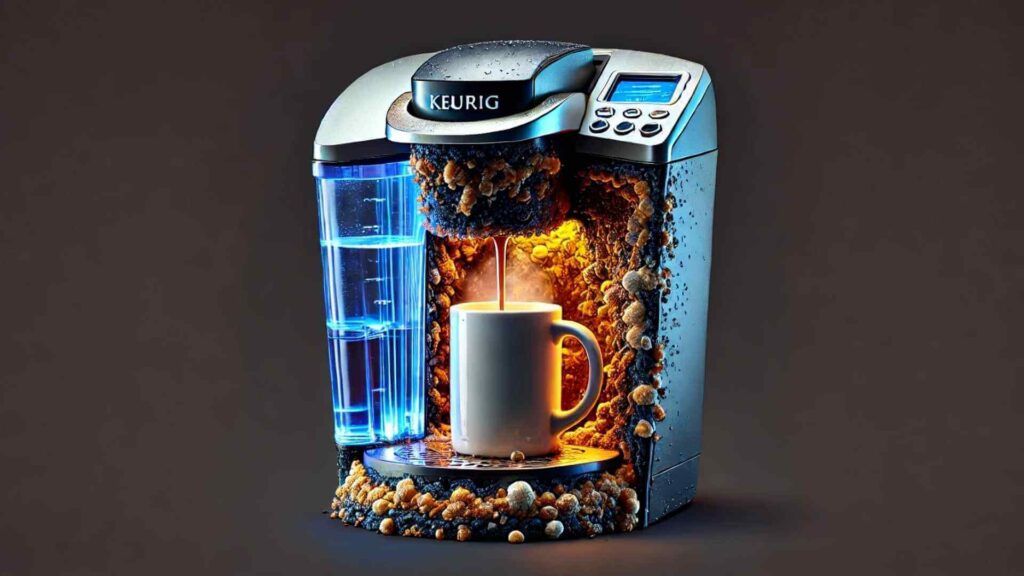
Descaling is the process of removing mineral deposits, primarily calcium and lime, that accumulate inside your Keurig over time. These minerals are present in all water sources, and as water passes through your machine, these minerals can build up, forming scale that affects performance and taste.
Why Is Descaling Necessary?
- Machine Longevity: Mineral buildup can clog essential components, making your Keurig work harder than it should. Over time, this extra strain can lead to breakdowns or even early retirement for your beloved brewer.
- Consistent Brewing: Scale buildup can obstruct water flow, leading to inconsistent brewing and longer preparation times.
- Taste Quality: Accumulated minerals can affect the taste of your coffee, making it less flavorful and more bitter.
Frequency of Descaling
Keurig recommends descaling your brewer every 3 to 6 months, or when the descale light comes on, depending on your model. If you have hard water, you might need to descale more frequently to prevent excessive mineral buildup.
Signs Your Keurig Needs to Be Descaled
Recognizing the signs that your Keurig needs descaling can save you from potential headaches and ensure your coffee remains top-notch. Here are some indicators to watch out for:
- Slow Brewing or Incomplete Brews: If your Keurig is taking longer than usual to brew, or if the coffee comes out weak or incomplete, mineral deposits might be restricting water flow.
- Noisy Operation: An increase in noise during brewing can signal that scale has built up around the pump or heating element, causing the machine to work harder.
- Inconsistent Water Temperature: If your coffee isn’t as hot as it used to be, it could be due to scale affecting the heating element’s efficiency.
- Drip Tray Overflow: Excessive water accumulation in the drip tray or under the machine can result from blocked internal pathways due to mineral buildup.
Tools and Materials Needed for Descaling
Before you begin the descaling process, it’s important to gather all the necessary materials to ensure a smooth and effective cleaning experience. Here’s what you’ll need:
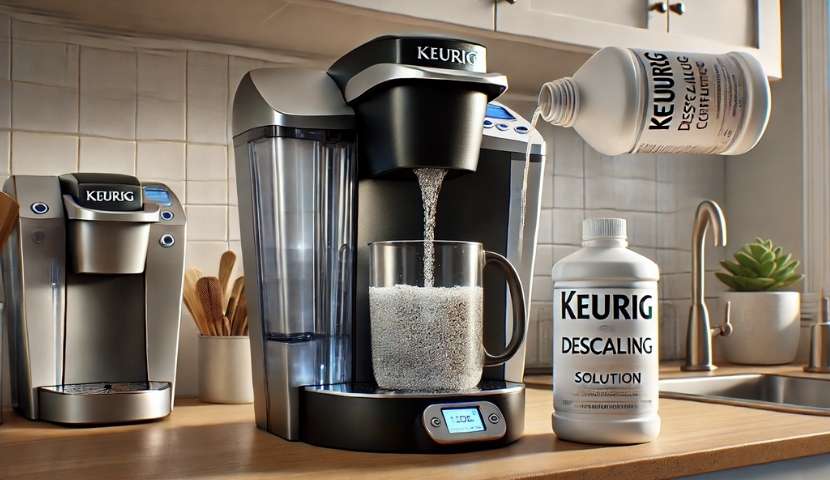
- Descaling Solution: You have a couple of options here:
- Keurig Descaling Solution: Specifically formulated for Keurig machines, this solution effectively removes mineral buildup. It’s easy to use and odorless.
- Homemade Vinegar Solution: A cost-effective alternative, using distilled white vinegar mixed with water in a 1:1 ratio.
- Water: Filtered or tap water, depending on your preference. Filtered water can help reduce mineral buildup in the future.
- A Mug or Container: To catch the liquid during the descaling process.
- Optional – Paper Towels: Useful for any spills or to wipe down the machine after descaling.
Step-by-Step Guide on How to Descale Your Keurig Coffee Maker
Descaling your Keurig is a straightforward process that helps maintain its performance and extends its lifespan. Follow these steps to effectively descale your machine:
Step 1: Power Off and Empty the Water Reservoir
- Turn Off the Machine: Press the power button to switch off your Keurig.
- Remove the Water Reservoir: Take out the water reservoir and empty any remaining water.
- Remove the Water Filter (If Applicable): If your machine uses a water filter, take it out and set it aside.
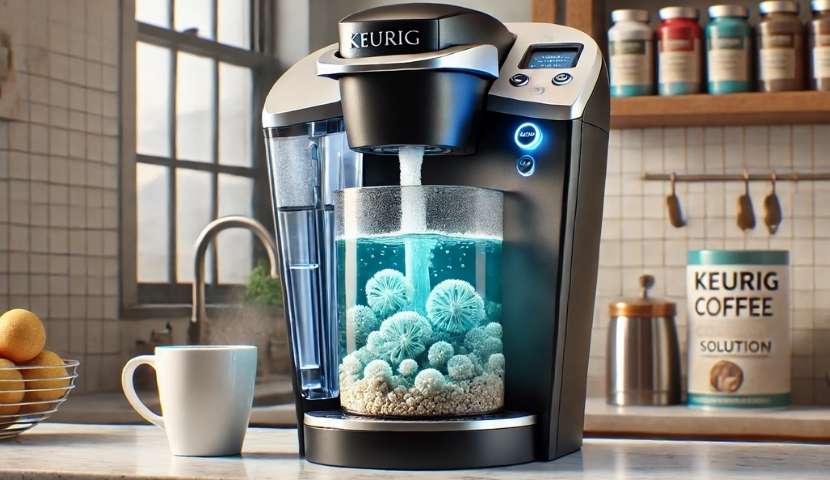
Step 2: Add Descaling Solution to the Reservoir
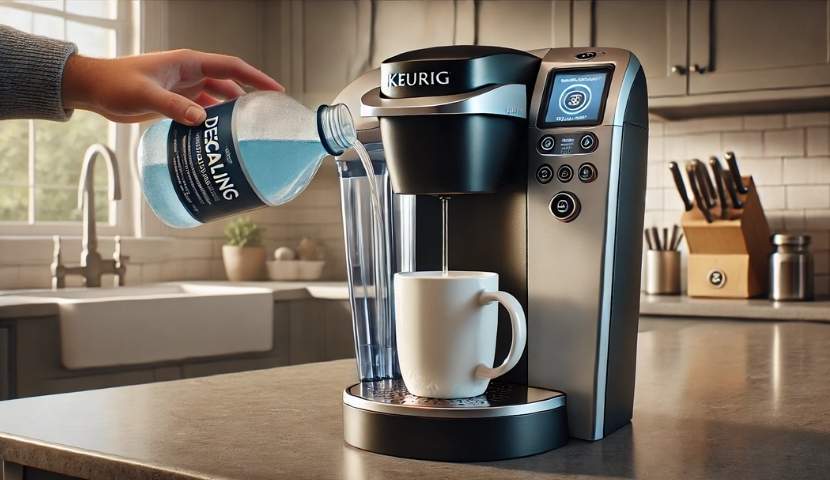
- Prepare the Descaling Solution:
- If using Keurig’s descaling solution, pour the entire bottle (14 oz) into the empty water reservoir.
- If using vinegar, fill the reservoir halfway with distilled white vinegar and the other half with water, creating a 1:1 solution.
Step 3: Initiate the Descaling Cycle
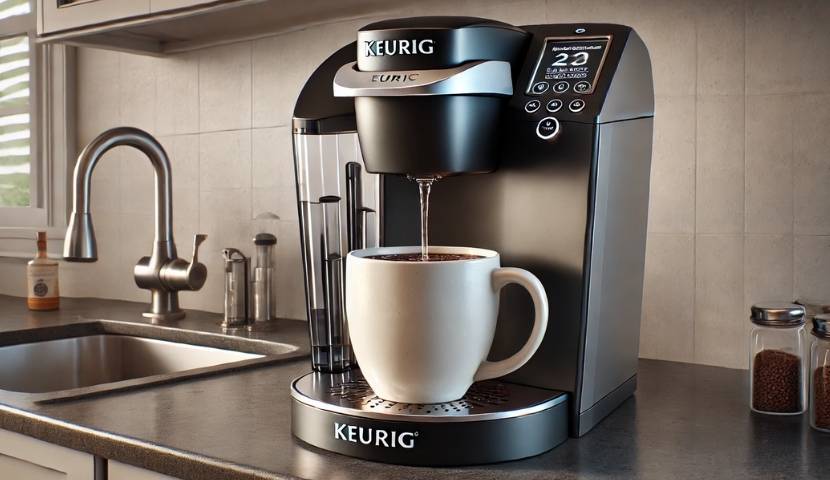
- Place a Mug on the Drip Tray: Position a large ceramic mug on the drip tray to catch the liquid.
- Start the Descaling Process:
- Without inserting a K-Cup, press the “Brew” button to begin the descaling cycle.
- Allow the machine to dispense the solution into the mug.
- Empty the mug and repeat the process until the “Add Water” indicator illuminates.
Step 4: Let the Machine Rest
- Pause the Brewer: Once the “Add Water” light comes on, turn off the machine and let it sit for at least 30 minutes.
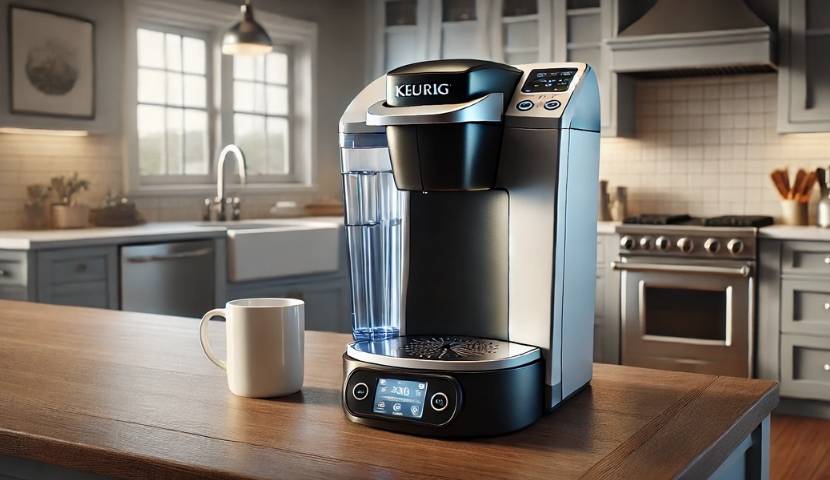
Step 5: Rinse the Reservoir and Refill with Water
- Clean the Reservoir: After the resting period, discard any remaining solution and rinse the water reservoir thoroughly.
- Fill with Fresh Water: Replenish the reservoir with fresh water up to the “MAX” fill line.
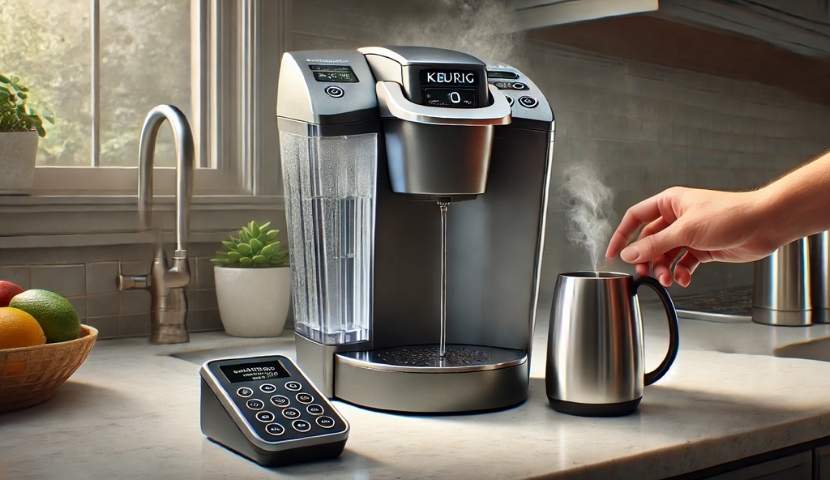
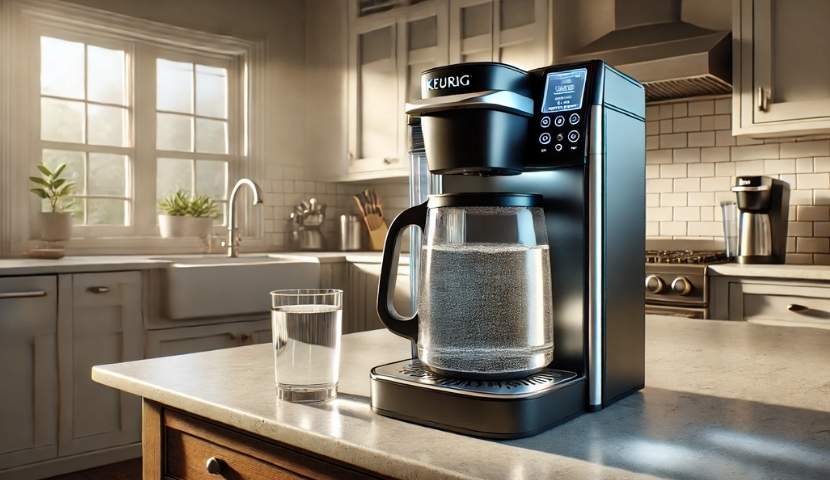
Step 6: Perform Rinsing Brews
- Rinse the Machine:
- Place the mug back on the drip tray.
- Perform a brewing cycle without a K-Cup, using the largest cup size.
- Discard the contents of the mug.
- Repeat this process 12 times, or until the water reservoir is empty, to ensure all descaling solution residues are removed.
Step 7: Final Touches
- Clean Removable Parts: Wash the water reservoir, lid, and drip tray with warm, soapy water.
- Reassemble the Brewer: Once all parts are dry, reattach the water filter (if you use one), place the reservoir back onto the machine, and ensure all components are properly positioned.

Tips for Specific Keurig Models:
- Keurig K-Elite: The descaling process is similar to the steps outlined above. For a visual demonstration, you can refer to this guide:
- Keurig K-Supreme: Descaling steps are generally consistent with the above instructions. For model-specific guidance, refer to Keurig’s official support page:
Regular descaling, approximately every 3 to 6 months, will help maintain your Keurig’s performance and ensure your coffee tastes great every time.
Additional Tips for Maintaining Your Keurig
To ensure your Keurig continues to brew delicious coffee and serves you well, consider incorporating these maintenance practices into your routine:
- Regularly Clean the Pod Holder and Drip Tray: These areas can accumulate coffee grounds and moisture, potentially leading to mold growth. Remove the pod holder and drip tray weekly, rinse them under warm water, and let them dry thoroughly before reassembling.
- Use Filtered Water: Using filtered water can help reduce mineral buildup inside your machine, leading to better-tasting coffee and less frequent descaling.
- Empty the Water Reservoir When Not in Use for Extended Periods: If you plan to be away or won’t be using your Keurig for a while, empty the water reservoir to prevent stagnant water, which can lead to mold and unpleasant odors.
- Keep the Keurig in a Clean and Dry Place: Store your machine in a dry environment to prevent moisture-related issues and mold growth. Ensure the area around the machine is clean to avoid any external contaminants.
Common Problems and How to Fix Them After Descaling
After descaling your Keurig, you might encounter a few issues. Here are some common problems and simple solutions:
- Keurig Doesn’t Brew After Descaling:
- Check Water Level: Ensure the water reservoir is filled to the appropriate level.
- Power Cycle the Machine: Turn off the machine, unplug it for a minute, then plug it back in and turn it on.
- Perform a Cleansing Brew: Run a brewing cycle without a K-Cup, using just water, to clear any residual descaling solution.
- “Descale” Light Stays On After Cleaning:
- Repeat Descaling: If the descale light remains illuminated, consider repeating the descaling process.
- Check for Errors: Consult your machine’s user manual for specific instructions on resetting the descale indicator for your model.
- Water Leakage or Machine Overflow:
- Ensure Proper Assembly: Confirm that all removable parts, such as the water reservoir and drip tray, are correctly seated.
- Inspect for Damage: Check for any cracks or damages in the water reservoir or other components that might cause leaks.
How Often Should You Descale Your Keurig?
Regular descaling is essential to maintain your Keurig’s performance and the quality of your coffee. Here’s how often you should descale:
- Recommended Frequency: Keurig suggests descaling your brewer every 3 to 6 months. However, if you use your machine more frequently, you might need to descale more often.
- Adjust Based on Water Hardness: If you live in an area with hard water, which contains higher mineral content, consider descaling every 1 to 3 months to prevent buildup.
- Signs You Might Need to Descale More Often:
- Reduced water flow or slower brewing times.
- Inconsistent water temperature.
- Frequent appearance of the “Descale” light.
Can You Use Vinegar to Descale Your Keurig?
Descaling your Keurig is essential for maintaining its performance and ensuring great-tasting coffee. While commercial descaling solutions are available, many users wonder if white distilled vinegar—a common household item—can serve as an effective alternative.

How Vinegar Works to Descale
White distilled vinegar contains acetic acid, which effectively breaks down mineral deposits like calcium and lime that accumulate inside your Keurig over time. Its mild acidity makes it suitable for cleaning without causing damage to the machine’s internal components.
Pros and Cons of Using Vinegar
Pros:
- Cost-Effective: Vinegar is an affordable option compared to specialized descaling solutions.
- Natural Cleaner: It’s a non-toxic, eco-friendly choice for those who prefer chemical-free cleaning agents.
Cons:
- Odor: Vinegar has a strong smell that can linger in your kitchen and may affect the taste of your coffee if not properly rinsed.
- Potential Residue: If not thoroughly rinsed, vinegar can leave a residue that might impact the flavor of your coffee.
Considerations for Your Keurig Model
While many users successfully use vinegar to descale their Keurig machines, some have reported issues. For instance, a user mentioned that their Keurig malfunctioned after using white vinegar for cleaning, with the manufacturer suggesting that vinegar might damage the brewer.
It’s important to note that experiences can vary, and some users continue to use vinegar without issues. If you choose to use vinegar, ensure you perform thorough rinsing cycles to eliminate any residual smell or taste.
Alternative: Commercial Descaling Solutions
Commercial descaling solutions, such as Keurig’s own descaling product, are formulated to effectively remove mineral buildup without the drawbacks associated with vinegar. These solutions often contain citric acid and are designed to be gentle on your machine while providing thorough cleaning.
Conclusion
Regular descaling is vital for maintaining your Keurig’s performance and ensuring the best coffee experience. While vinegar offers a budget-friendly and natural alternative for descaling, it’s essential to be mindful of potential odors and ensure thorough rinsing. If you prefer a hassle-free option, commercial descaling solutions are specifically designed for this purpose.
By incorporating regular descaling into your maintenance routine, you can extend the lifespan of your Keurig and enjoy consistently delicious coffee.
Frequently Asked Questions (FAQ)
What is the best descaling solution for a Keurig?
When it comes to descaling your Keurig, using a solution specifically designed for coffee makers is recommended. Here are some top-rated options:
- Keurig Descaling Solution: Formulated to effectively remove mineral buildup without damaging your machine.
- Urnex Dezcal Descaling Powder: A powerful, fast-acting descaler that is safe for all coffee makers, including Keurig.
- Affresh Coffee Maker Cleaner: Tablets designed to remove mineral buildup and coffee oils, ensuring your machine brews at its best.
While some users opt for homemade solutions like white vinegar, experts suggest that specialized descalers are more effective and less likely to leave residual odors.
Can I use descaling tablets for my Keurig?
Yes, descaling tablets are a convenient and effective option for cleaning your Keurig. Products like Affresh Coffee Maker Cleaner are specifically designed for this purpose. Simply follow the manufacturer’s instructions for use.
How do I clean the needle of my Keurig?
Over time, coffee grounds can clog the needles that pierce the K-Cup® pods, leading to brewing issues. Here’s how to clean them:
- Turn Off and Unplug: Ensure the machine is powered off and unplugged for safety.
- Remove the Pod Holder: Lift the handle and remove the pod holder by pulling it upward.
- Access the Needles:
- Upper Needle: Located in the pod holder’s cap.
- Lower Needle: Situated at the bottom of the pod holder.
- Clean the Needles:
- Use a straightened paperclip or toothpick to gently dislodge any coffee grounds from the needles.
- Be cautious of the sharpness to avoid injury.
- Rinse and Reassemble: Rinse the pod holder under warm water to remove any remaining debris, reassemble, and your Keurig should be good to go.
For a visual guide, you can watch this helpful video:
Best Descaling Solutions for Keurig Coffee Makers
Maintaining your Keurig with regular descaling ensures optimal performance and extends its lifespan. Here are some top descaling solutions to consider:
- Keurig Descaling Solution
- Benefits: Specially formulated for Keurig machines, it effectively removes mineral buildup without damaging internal components.
- Why It’s Good: Ensures thorough cleaning tailored to Keurig’s design.
- Urnex Dezcal Descaling Powder
- Benefits: A fast-acting, odorless powder that works with all coffee makers, including Keurig.
- Why It’s Good: Provides a deep clean, removing tough mineral deposits.
- Affresh Coffee Maker Cleaner
- Benefits: Convenient tablets that effectively clean and descale, removing mineral deposits and coffee oils.
- Why It’s Good: Easy to use and safe for all coffee makers.
Using these recommended descaling solutions helps maintain your Keurig’s performance and ensures a great-tasting cup of coffee every time.


0 Comments